
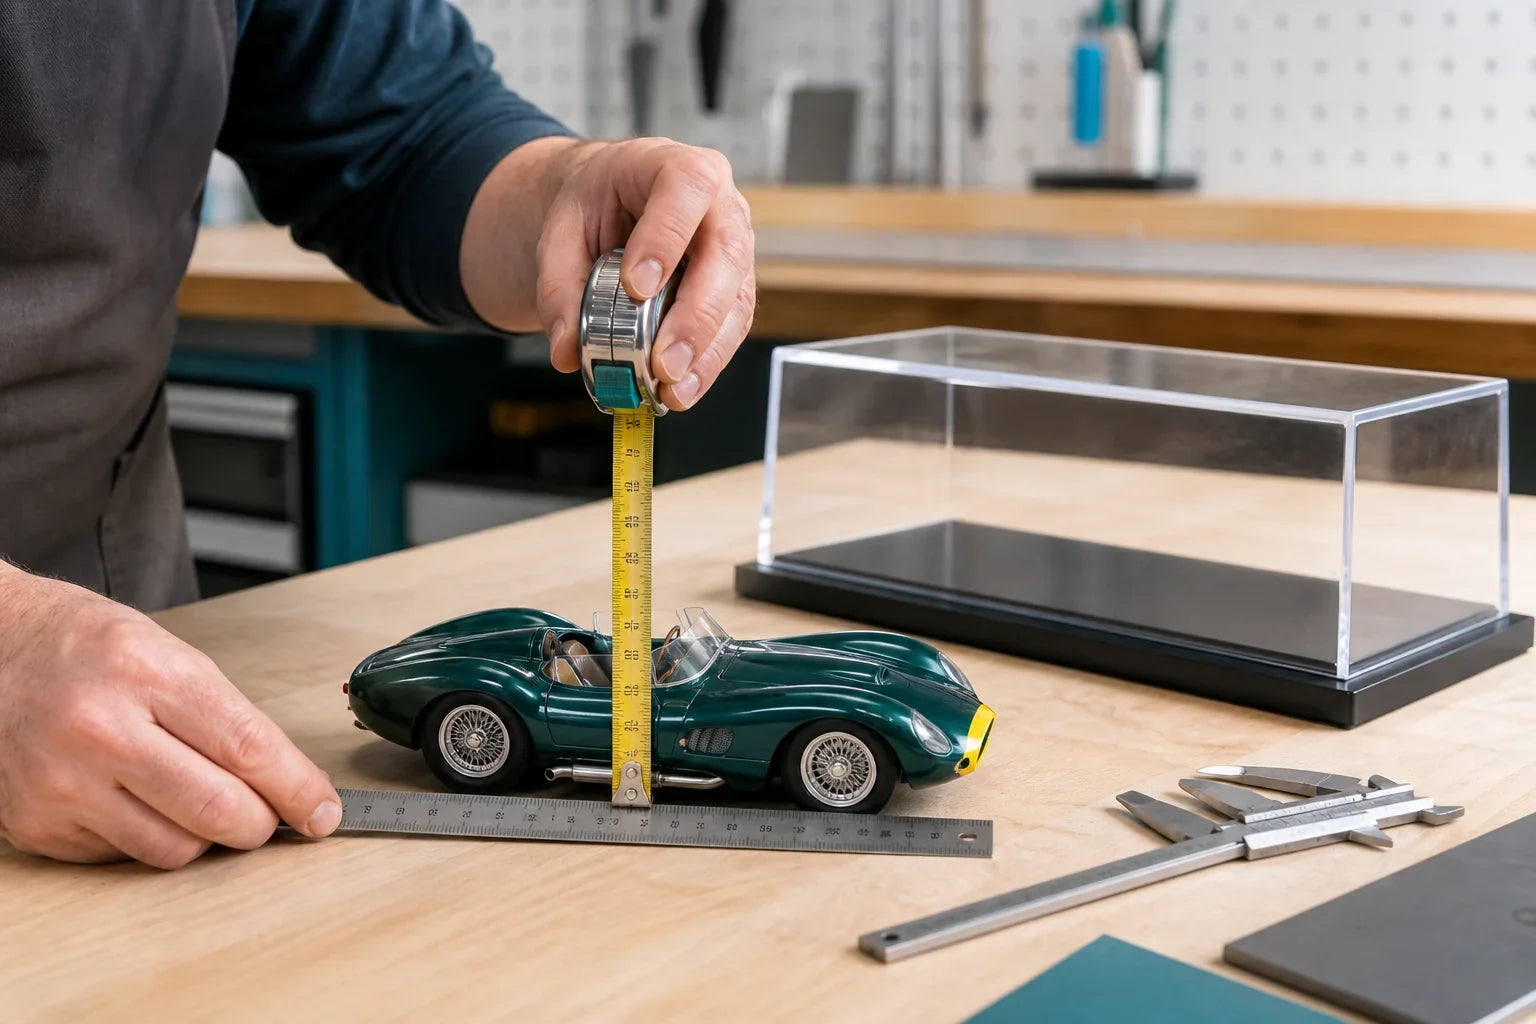
A custom acrylic display case should protect an object without crowding it, wasting shelf space or leaving fragile details perilously close to the walls. Getting that result starts with one simple principle: measure the space occupied by the object in its final display position, not the dimensions printed on its box.
This guide explains how to measure height, width and depth, how much breathing room to add, and how to convert your required internal space into the external dimensions used by the Puffin Plastics custom acrylic display case calculator.
Before you start: internal and external dimensions are different
Internal dimensions describe the usable space inside a case. External dimensions describe the finished size from outside edge to outside edge. Puffin's calculator asks for external height, width and depth, so you must allow for the acrylic walls, top panel and any base or mirror backing.
Do not order a case whose external measurements merely match the object. That would leave less room inside than the object needs.
What you will need
- A rigid steel rule or a good-quality tape measure marked in millimetres
- A flat table or the actual shelf on which the display will stand
- The object, its stand, plinth, mount, plaque and every part that will remain inside the case
- Low-tack masking tape or small removable markers
- Paper or a phone note for recording width, depth and height separately
A flexible dressmaking tape is useful for circumference, but it is not the best tool for finding the rectangular space a display case must enclose. A rigid rule makes it easier to identify the true furthest point.
Step 1: arrange the object exactly as it will be displayed
Place the object in its final pose before taking any measurements. Fit its mount. Open a helmet visor to the intended angle. Tie or arrange boot laces. Extend model wings, aerials or accessories. Put a football on its ring, riser or grass-effect stand. If a plaque will sit in front, include it now.
Then view the display from the front and both sides. An angled football boot, turned model vehicle or helmet spoiler may make the occupied depth much greater than the object's catalogue dimensions.
Step 2: find the occupied width, depth and height
Width
Measure from the furthest point on the left to the furthest point on the right. Keep the rule parallel with the front edge of the proposed base. Include projecting handles, wings, laces, brackets or the edge of a plaque.
Depth
Measure from the furthest forward point to the furthest rear point. Check at the object's widest level rather than assuming the base or footprint is the deepest part. A boot's toe, a helmet peak or the rear wing of a model can easily be missed.
Height
Measure vertically from the surface on which the object will sit to its highest point. Include the stand and any upward projection. Do not follow a curved surface with the tape; the case needs the straight vertical height of the object's rectangular envelope.
Record the three measurements clearly, for example:
- Occupied width: 320mm
- Occupied depth: 145mm
- Occupied height: 120mm
Step 3: add usable clearance
Clearance is the empty space between the object and the inside surfaces of the case. It stops delicate details touching the acrylic, makes the display look considered and gives you enough room to lower the cover over the object safely.
As a practical starting point, allow approximately 20–30mm on each side and 20–30mm above a compact, stable item. Consider 30–50mm around fragile, irregular or visually busy displays. These are starting allowances rather than fixed rules: a tiny model may need less, while a large helmet, model ship or grouped display may look better with more.
Remember that 25mm of side clearance means adding 50mm to the internal width: 25mm on the left and 25mm on the right. The same applies to front and rear depth.
Step 4: convert the required internal space to external case dimensions
For a conventional five-sided acrylic cover, use these planning formulas:
- External width = required internal width + twice the acrylic thickness
- External depth = required internal depth + twice the acrylic thickness
- External height without a base = required internal height + the acrylic thickness
- External height with a Puffin base = required internal height + the acrylic thickness + 6mm
- Mirror backing occupies another 3mm of internal depth, so add 3mm if you want to preserve the same clearance
Puffin works to a tolerance of ±1mm. Do not design a zero-clearance fit around a valuable or brittle object; the clearance you add should comfortably absorb normal manufacturing and measuring variation.
Worked example
Suppose a model in its final pose occupies 320mm wide, 145mm deep and 120mm high. You decide on 25mm clearance at the left, right, front, rear and top.
| Dimension | Calculation | Required internal space |
|---|---|---|
| Width | 320 + 25 + 25 | 370mm |
| Depth | 145 + 25 + 25 | 195mm |
| Height | 120 + 25 | 145mm |
If the case uses 4mm acrylic and a base, the minimum planned external dimensions would be:
- Width: 370 + 8 = 378mm
- Depth: 195 + 8 = 203mm
- Height: 145 + 4 + 6 = 155mm
If you add a mirror back and want to retain the full 25mm rear clearance, increase the external depth by another 3mm. Where a projection is particularly delicate, rounding the dimensions up slightly is safer than ordering to the exact theoretical minimum.
Check the finished case will fit its location
Once you have the external case dimensions, measure the furniture, shelf or alcove. Check:
- The shelf is deeper and wider than the finished base
- There is enough height above the case to lift the acrylic cover off
- Doors, lights, sockets and nearby objects will not obstruct it
- The supporting surface is level and strong enough
- The case can travel through doors, stairways and narrow turns on delivery
For a large display, make a full-size footprint from paper or cardboard and place it on the intended surface. This simple check reveals overhangs and awkward proportions that are hard to imagine from numbers alone.
Common measuring mistakes
- Using product-box dimensions. Packaging rarely matches the object's final pose.
- Forgetting the mount. Stands, risers, plaques and base fittings count as part of the display.
- Measuring only the footprint. The widest point may be higher up.
- Confusing internal and external sizes. The calculator requires the finished outside dimensions.
- Allowing no clearance. A theoretically exact fit is difficult to assemble and visually cramped.
- Ignoring movable parts. Decide whether a visor, wing, door or accessory will be open or closed.
- Forgetting the room. A correctly measured case is still unsuitable if it cannot fit the shelf or reach the room.
Final measurement checklist
- Object arranged in its final display position
- Stand, mount, plaque and loose accessories included
- Maximum occupied width, depth and height measured in millimetres
- Clearance added on both sides, front, rear and above
- Acrylic thickness added to convert internal space to external size
- 6mm base allowance included where applicable
- 3mm mirror-backing allowance included where applicable
- Finished external footprint checked against the shelf and route into the room
- Measurements checked a second time by another person if the object is valuable
Frequently asked questions
How much bigger should a display case be than the object?
For many compact objects, 20–30mm of internal clearance on each side and above is a useful starting point. Use more for irregular, delicate or visually complex items. Always judge the space around the object in its final pose.
Should I measure in centimetres or millimetres?
Measure and record everything in millimetres. This avoids rounding errors and matches the precision needed for a made-to-measure case.
What if one dimension is over 900mm?
Very large cases need individual assessment for material thickness, handling and delivery. Send the dimensions, photographs and intended use through the Puffin Plastics contact page for a quotation rather than forcing the project through the standard calculator.
What if I am still unsure?
Photograph the item from the front and side with a rule visible, record its occupied width, depth and height, and explain how it will be mounted. The team can identify likely problems before manufacture, but the final measurements remain important because a bespoke case is made specifically to your specification.
Ready to size your cover? Enter the checked external dimensions in the bespoke acrylic display case calculator, or read the Puffin Plastics FAQ for current thickness, production and delivery guidance.